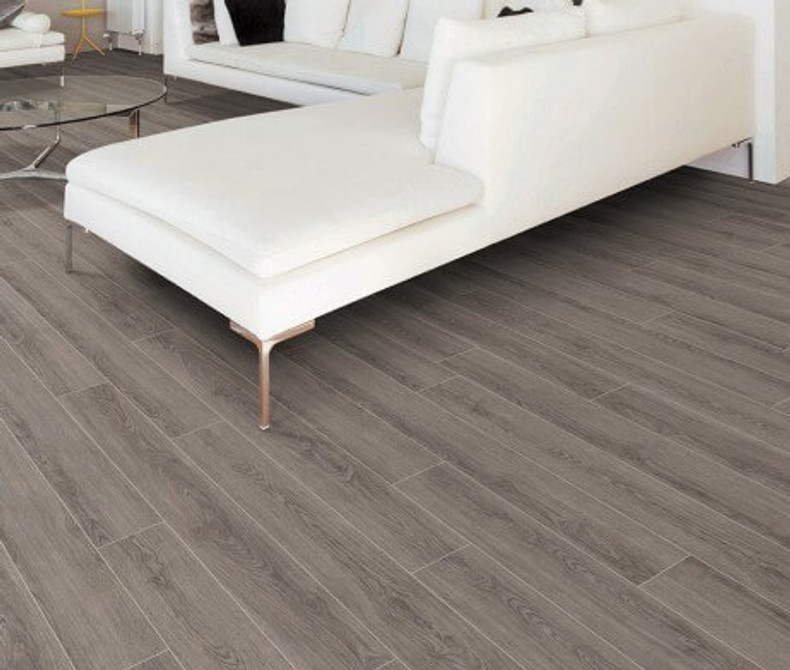
Luxury vinyl plank flooring comes in a range of designs and finishes, resists water, and is excellent for high traffic areas. What’s more, it’s affordable and fantastic for new buildings and a home renovation. However, you may find damage on your floor over time due to scratches, breaking, or poor installation. Read on to find out how to repair damaged luxury vinyl plank flooring. Contact us to learn more.
Scratches and Imperfections
Minor scratches and imperfections on your luxury vinyl plank flooring are easy to fix.
Cleaning and Sanding
-
Gather some grease-cutting soap and water to clean the luxury vinyl plank flooring. The floor should be thoroughly cleaned and allowed to
dry before any repairs happen.
-
Sand the vinyl to remove scratches. Start with medium P320 sandpaper, and sand in the direction of the scratch. As you sand the floor, keep
your strokes light to avoid damaging the vinyl.
- Touch up with P500 and P800 paper to ensure a perfect finish.
- Clean the floor to remove debris and dust.
Waxing and Buffering
If the scratch is too deep, you may want to fill it with wax. Wax sticks are an excellent solution for deep scratches on luxury vinyl plank flooring. Take the wax and place it over the scratch with pressure to let it smear over the scratch.
After spreading the wax, you need to buff the area to ensure a smooth finish. Buff the floors with elbow grease and a piece of cloth by rubbing in circular motions until the area is smooth and flat.
Replacing Vinyl Planks
If the damage to your luxury vinyl plank flooring is severe, you may want to replace the entire plank. The method you use depends on the nature of the installation.
Floating Floors
A floating floor refers to luxury vinyl planks snapped into place without being glued to the floor. As such, you can easily remove the affected pieces and replace them.
- First, find the wall that is closest to the damaged plank. This reduces the number of planks you need to remove before reaching the one that needs replacement.
- Remove the baseboard or molding at the perimeter of the wall.
- Lift the plank at the end and keep removing the planks until you get to the damaged plank.
- Remove the damaged plank and replace it with a new plank of equal measurements.
- Place back the other planks until you reach the wall. Ensure all the planks click into place.
- Replace the baseboard or molding.
Glue-Down Floors
-
If your luxury vinyl plank flooring is glued into place, the replacement process takes a different approach. The planks are attached to the
floor instead of each other.
-
First, gather an adhesive for the vinyl plank replacement, a scraper to remove the glue and plank, a paint roller or brush to apply the
adhesive.
- Remove the affected plank from the floor. Use something sharp and flat to help you reach under the plank and dislodge it.
- Use your scraper to remove the old glue. Clean the area and also clean the new plank.
- Use the paint roller, or brush to apply the adhesive. Allow the adhesive to dry for a few minutes until it’s tacky.
- Place the plank and press it down to ensure it sticks. You can use a heavy roller to ensure the plank sticks effectively.
- Use a rag and water to clean the dirt and adhesive.
Fix Your Damaged Luxury Vinyl Plank Flooring
You can easily replace damaged planks and fix minor imperfections on your luxury vinyl plank flooring to keep your space beautiful and fresh. If it’s time to replace your floors all together, or you are not confident repairing your luxury vinyl plank flooring on your own, visit our flooring consultants!

